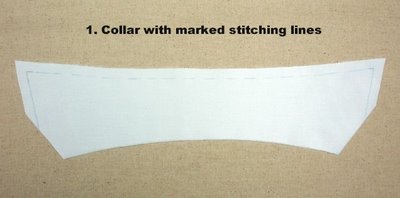
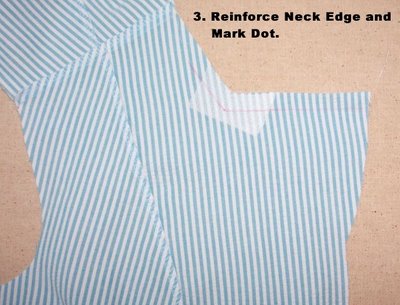
After you sew the garment front and back together, you may wish to reinforce the inside corner with a small piece of interfacing as shown. Whether you choose to reinforce this area or not, do remember to mark the matching point with a dot. I have also marked the stitching lines on either side of the dot, so you can see where you will be stitching next.
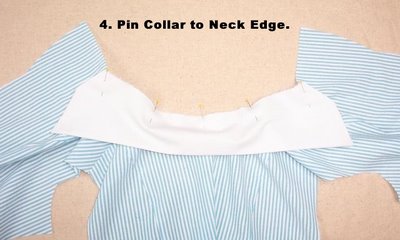
Pin the collar to neck edge, matching collar to the shirt at center back and shoulders, taking special care to match those dots you marked on both the collar and the shirt.
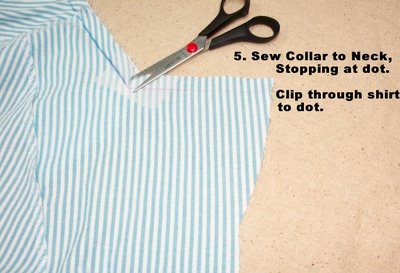
Stitch the collar to the shirt, from center back to the dot. I have marked this stitching line with a blue pencil so it can be easily seen in the photo. Stop stitching when you reach the dot, then clip to the dot through the SHIRT ONLY.
Spread the shirt to meet the remaining edge of the collar, and stitch. Again, I have marked the stitching with a blue pencil so you can see it clearly in the photo.

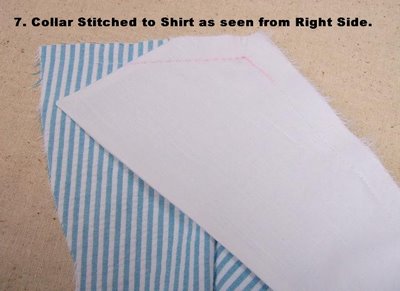
This is how the collar will look as viewed from the right side. I have marked the corner area stitching in pink pencil so it can be more easly seen in the photo.
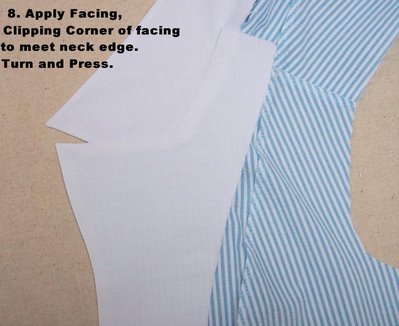
The next step is applying the facing. Do this as you always do, sandwiching the collar between the shirt and the facing, right sides together. When you get to the inside corner of the FACING, you will need to clip into the corner of the FACING ONLY, then spread it to meet the remaining neck edge...just like you did with the inside corner of the shirt. After turning and pressing, the collar/lapel will look like the following photo (on the inside/wrong side of the garment).
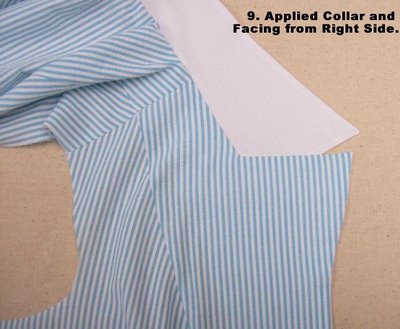
This photo shows what the applied collar and facing will look like from the right side.
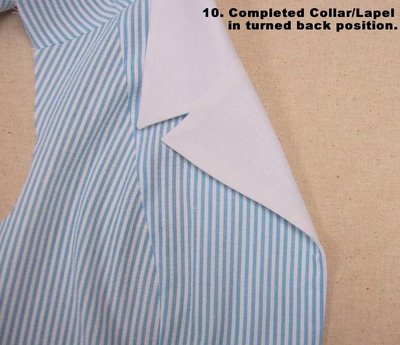
Finish the facing and clean finish the neck edge of the collar as desired, then turn back your completed collar/lapel and admire your work!
Labels: HotPatterns, Patterns, Sewing Tutorials, Tips / Techniques
