How to Sew a "Better" Elasticated Casing !
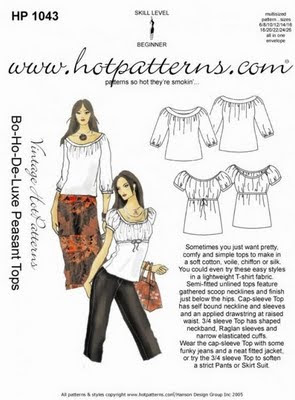
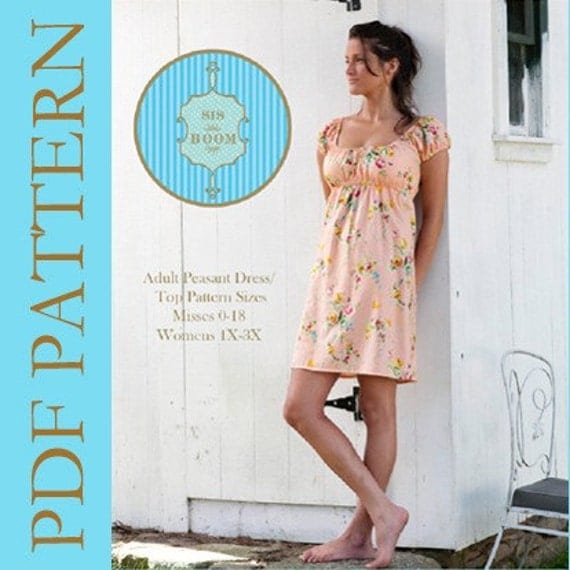
The basic differences between the 2 patterns is that the HotPatterns style has a lovely "couture-like" flowing silhouette, with sophisticated details. The Meghan Peasant Pattern from "The Scientific Seamstress" has a silhouette that is both relaxed yet fitted, with pretty sleeve style options, neckline options, and top-tunic-dress length options. I've made them both, and I like the Hotpatterns style for soft flowing fabrics, and I like the Meghan for fabrics like lightweight cotton and soft washed linen.
OK..we know Elastic is on sale, we've got patterns to choose from...Now about those Elasticated Casings...
Making a casing for elastic is certainly one of our easier sewing tasks. Turn, stitch, insert elastic...done! Sewn this conventional way, we end up with a perfectly acceptable casing that looks something like the photo below, after the elastic is inserted. Fine...yet a little "bubbly and wobbly"...but something we have come to accept with elasticated casings.
(OK..a word here about "elasticated". I am old enough to remember when *everyone* just said "elastic casing", then one day I started to hear elasticated this/elasticated that...so...today I choose to use the word, elasticated every so often...with a few plain "elastic casings" thrown in ;) But yes, this is indeed just our old friend "the elastic casing" fancied up a bit)
By taking one additional construction step, you can achieve a "designer" look to an elastic casing garment. A very simple step that will result in a flat, even-edge casing every time, like the one in the finished garment shown....here is a close-up photo--
By taking this one easy extra step, our elasticated casings lose the bubbles,
Labels: HotPatterns, Professional Sewing Supplies, Tips / Techniques


