

TUTORIAL- Refine the Lines...Making a Shirt look "Custom" - REVISED
In this tutorial I am going to demonstrate how to refine the shape of a typical "straight-line" Yoke and Back of a commercial Shirt pattern.

The differences between shirts made from most commercial sewing patterns and my custom-made shirts are often quite subtle, but deliver a big impact on how the shirts look when worn. The shirts I draft by hand have yokes that lay smoothly along the upper back and shoulders with no bunching or ripples. The seam that joins the yoke to the back is contoured...allowing the fabric below to flow over the body gently, rather than just fall from it.

^Click any of the photos to enlarge^
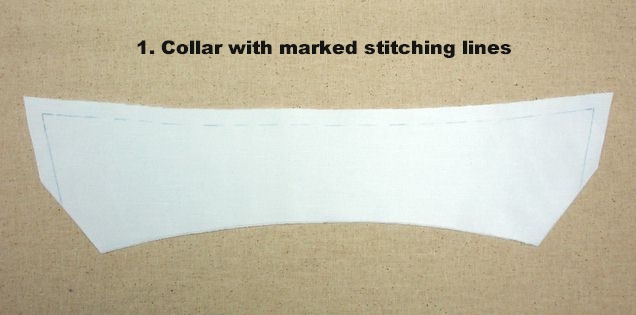
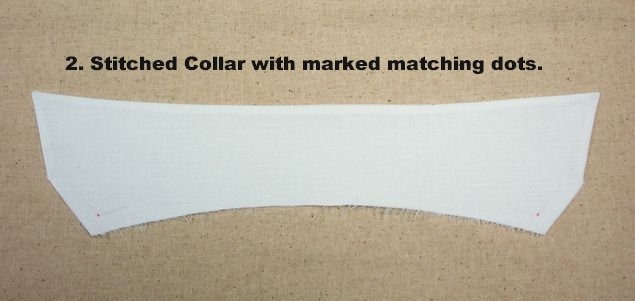
Two of the many subtleties that I incorporate into my shirt designs are curved (shaped) yokes and backs. The pattern pieces shown above are examples of a "pattern-in-progress" that I am hand-drafting for one of my clients. It is based on a draping session done to achieve a truly custom fit and will be fine-tuned before the final pattern is drafted and the fabric cut.

Of course, I cannot possibly teach you my custom shirt pattern "Drafting by Hand from Measurements" methods in a blog post.
But I can demonstrate how to refine the lines of a commercial pattern that has been drafted with a "straight-line" Yoke and a "straight-line" Back. The commercial pattern used to make these changes should be one that has regular ease, rather than a "fitted" style.
Let me add here that if you have a shirt pattern with a straight Yoke and Back that you like, that's fine. I am not saying that one draft is "better" than the other. This is just an example of how to do another draft...one that I just happen to prefer :)
You will need a copy of Yoke, the Back (without the Center-back pleat...fold it out of the way before making the copy), and the Sleeve...ALL OF THEM WITHOUT THEIR SEAM ALLOWANCES. Please note that with the exception of the sleeve, working with 1/2-width pieces is easier when making these changes, and will take less time and paper than making full-width copies of the pattern pieces.
The brown paper pattern pieces that you see in this demonstration purposely do NOT have notch markings...because I want you to see how the SHAPES change without extraneous marks.
Let's begin with refining the YOKE.
As shown below, Mark a point that is approximately at the mid-point along the bottom of the yoke pattern piece. Make a second mark at the side that is a very scant 1/4-inch up above the corner. Then using a ruler with a gentle curve, draw a line connecting the marks. If my written directions are not clear, the photo below should be. Please remember this is not rocket science, I have just drawn a gently curved line on the Yoke piece. The key to this entire process is to make small gentle changes to the existing pattern. The goal is to "refine" the pattern in a subtle way, not to make big design changes...we'll do that another time.

Next, cut along the curved line that was drawn, trimming off the excess, to finish making the new Curved Yoke--

Lay the New Curved Yoke piece onto the the Shirt Back as shown below....the yoke will be "pointing" down, and center backs are matched. You can see how the straight part of the Shirt-Back extends beyond the new curved Yoke. Now, transfer the curved shape of the Yoke onto the straight part of the back by tracing along the edge of the yoke with a pencil as shown.

After you trace the shape of the Curved Yoke onto the Shirt-back, it will look something like this--

Next, just as we did with the Yoke...trim off the excess (by cutting along the curved line that was drawn) to finish making the new Curved Back.
And there we have it! Two pattern pieces that once were straight are now curved--

BUT WAIT! There has been a total of a scant 1/2" removed from the pattern pieces at the armscye edge...making the Back armscye a little smaller. You may be thinking, "OMGosh! What about the SLEEVE ?" Luckily it is as easy an adjustment as the others.
Here is how to change the SLEEVE pattern to fit the new Back-armscye--
Take the copy of the sleeve pattern that you prepared (I am showing you a shortened version for this demonstration), and mark the shoulder dot by comparing it to the original pattern. Then draw a straight line from the shoulder dot to the bottom (hem or cuff-edge), as shown below.

Then cut along the line, starting at the top (shoulder point) and ending about 3" from the bottom. You are not cutting it totally apart, just about 3/4 of the way down--

To finish, lap the Sleeve BACK over the Sleeve front...by a scant 1/2" as shown below, and tape to hold. (note- I have folded the Top edge of the Back ONLY so you can see how it was overlapped).

Remember what I said about Small Gentle Changes? If the Yoke and Back are changed by more than a scant 1/4" each, a total re-drafting avalanche will break loose!
ALTERNATE METHOD--- IF YOU ARE RELUCTANT TO CHANGE THE SLEEVE TO MATCH the SLIGHTLY SMALLER (SHORTER) BACK ARMSCYE--
Restore the length of the Back armscye by extending it out at the side seam by a scant 1/2" -- NO SLEEVE CHANGE NEEDED.
So we have new refined patterns, now what?
1. Add the seam allowances and notches to your pattern pieces-- Trace them again, adding the seam allowances. Then use the original pattern piece and transfer any notches/pattern markings including "place on fold" mark, and grain lines.
About the notches on the Sleeve--the only one I care about is the shoulder point, and I also make marks indicating the front and back of the sleeve. Why don't I care about the sleeve "ease dots"? Because I do not use them. I match the Shoulder point of the Yoke to the Shoulder Point of the sleeve, then distribute whatever ease there is as I stitch and approach the rounded sleeve cap.
About the notches on the Sleeve--the only one I care about is the shoulder point, and I also make marks indicating the front and back of the sleeve. Why don't I care about the sleeve "ease dots"? Because I do not use them. I match the Shoulder point of the Yoke to the Shoulder Point of the sleeve, then distribute whatever ease there is as I stitch and approach the rounded sleeve cap.
2. Remember, the Center Back pleat was removed from the Back when the pattern copies were made. You may choose to leave it off, or add it back on by measuring the width of the pleat on the original pattern and remembering to add it when you are tracing the final pattern with seam allowances.
3. I know some of you are wondering about the FRONT, aren't you? We have done nothing to the front at all...so we USUALLY do not have to make any changes to it.
OK..I hear the gasps of shock and horror from the "by-the-book" pattern drafters out there. Relax...remember, we just made very small very gentle changes. There is a possibility (depending on how the front armsyce of your commercial pattern has been drafted), that the length of side seams of the shirt might not match exactly. So, before you set the sleeve, fold the shirt at the shoulder point on the yoke, match the unsewn side seams from the hem edge up to the armscye and trim IF there is any excess.
You may be wondering, "Good Heavens, does Pam do this to every shirt pattern she uses?" Umm..NO. I do prefer curved yokes and curved backs, so I draft my original shirt designs by hand, and include those features as I render the draft. When I use commercial patterns, I usually choose vintage patterns because many of them already have shaped yokes and backs. And yes there are times when I use a vintage or other pattern that has a "straight-line" yoke and back...when I want a more casual shirt silhouette.
Over the years I have written countless sewing tutorials and also many about Drafting Shirt Patterns, including ways to improve the patterns that you already have. Here are the links to my Drafting Tips and Tutorials below, for your convenience--
(THE COLOR OF THE LINKS below may be light, BUT THEY DO WORK...the Blogger editor is often uncooperative...sigh)
(THE COLOR OF THE LINKS below may be light, BUT THEY DO WORK...the Blogger editor is often uncooperative...sigh)
Labels: Patterns